
Latest Additions


Browse by section
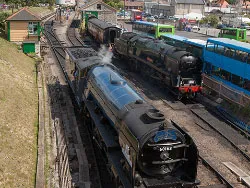
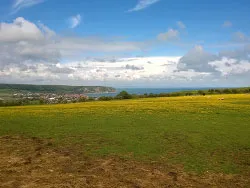
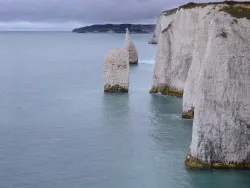
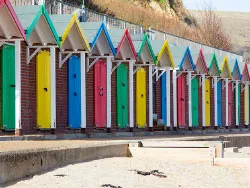


The Swanage and Purbeck photo archive contains photographs dating back to the mid 1800's, to view any of the photos in the gallery simply select the category from the list above and you will be shown all the photographs for the section, you can click on any of the photographs to view the full size version and further information about the picture and photographer.
Copyright of photographs & using our pictures on your website
Unless otherwise stated all images and photographs are are the property of The Virtual Swanage Team and/or its contributors.